
Connect your domain to Cloudflare
This guide shows you how to add your domain to Cloudflare on the free plan, change the nameservers at your registrar, and set the options your branded panel and email will need. After this, you can add the DNS-only CNAME for my.yourbrand.com and turn on Email Routing.
Before you start
- Your own domain, such as yourbrand.com, and a login at the registrar where it is registered.
- A free Cloudflare account, or a plan to create one at the Cloudflare website.
- A short window when you can change nameservers. Existing DNS records should be copied carefully so email and the website keep working.
Our team can add the site, switch nameservers and check DNS as a paid service — contact [email protected].
Step 1Add the site on the free plan
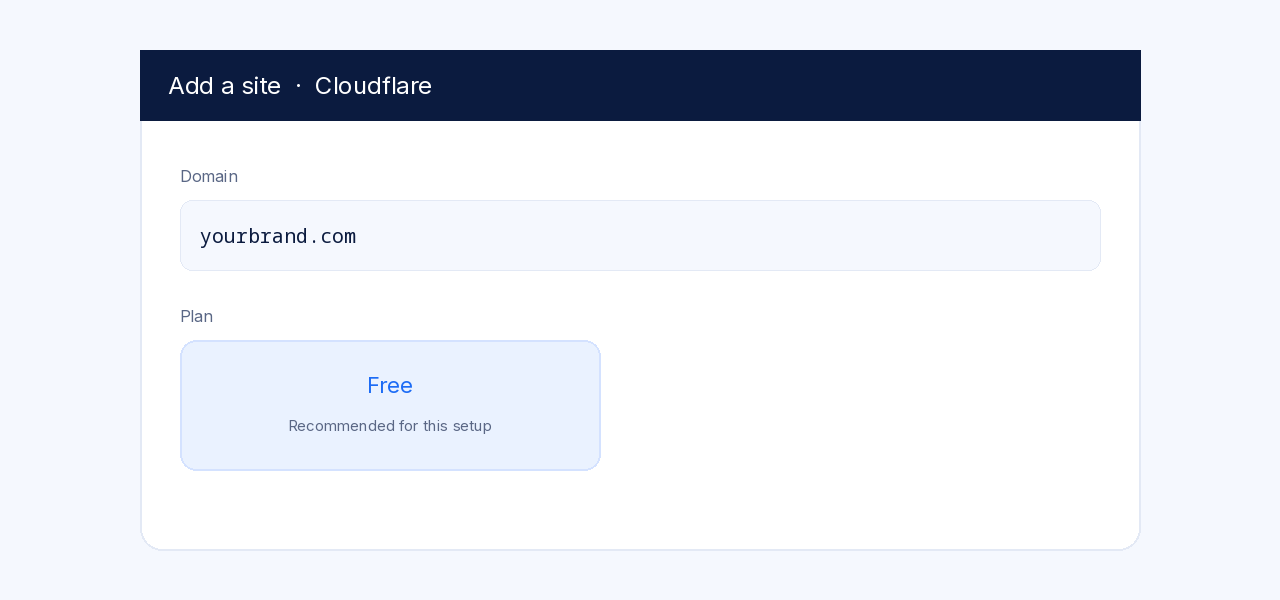
Create or sign in to your Cloudflare account and add a site. Enter yourbrand.com (the root domain, not www). Choose the Free plan.
Cloudflare will scan existing DNS records. This is the start of a full setup: you will later change the nameservers at your registrar so Cloudflare becomes the DNS host for the domain.
Step 2Review the scanned DNS records
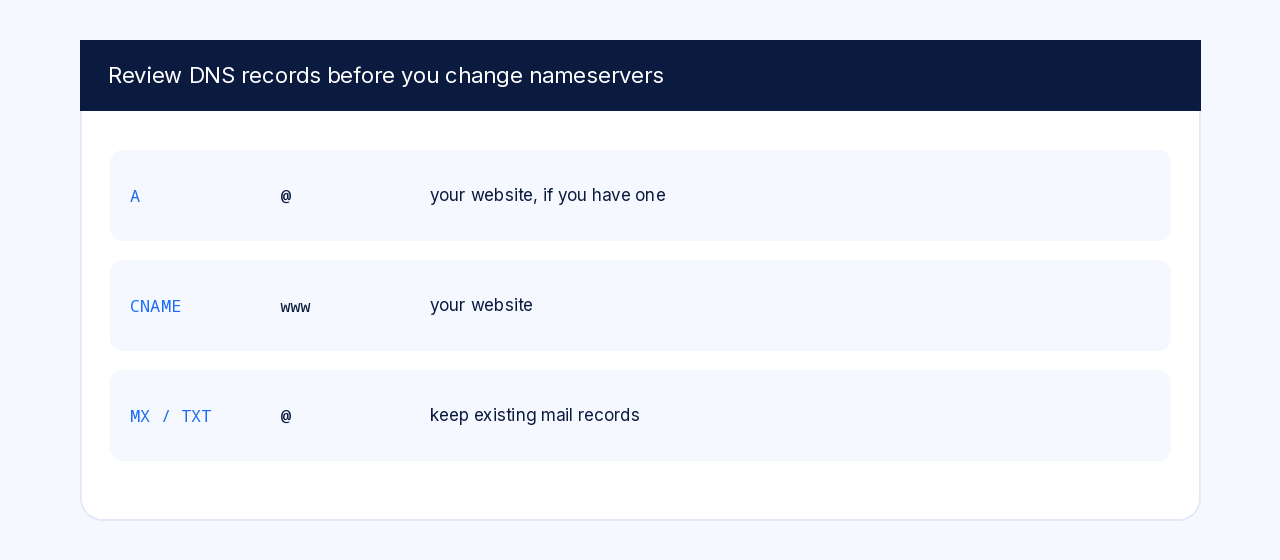
Before you change nameservers, open the DNS records list and compare it with what you already have at the registrar or current DNS host. Keep records you still need: the website A or CNAME records, any existing MX or TXT records, and verification records.
If a record is missing, add it now so it is in place when Cloudflare becomes authoritative. You will add the panel CNAME in a later step; it is fine if it is not there yet.
Step 3Change the nameservers at your registrar
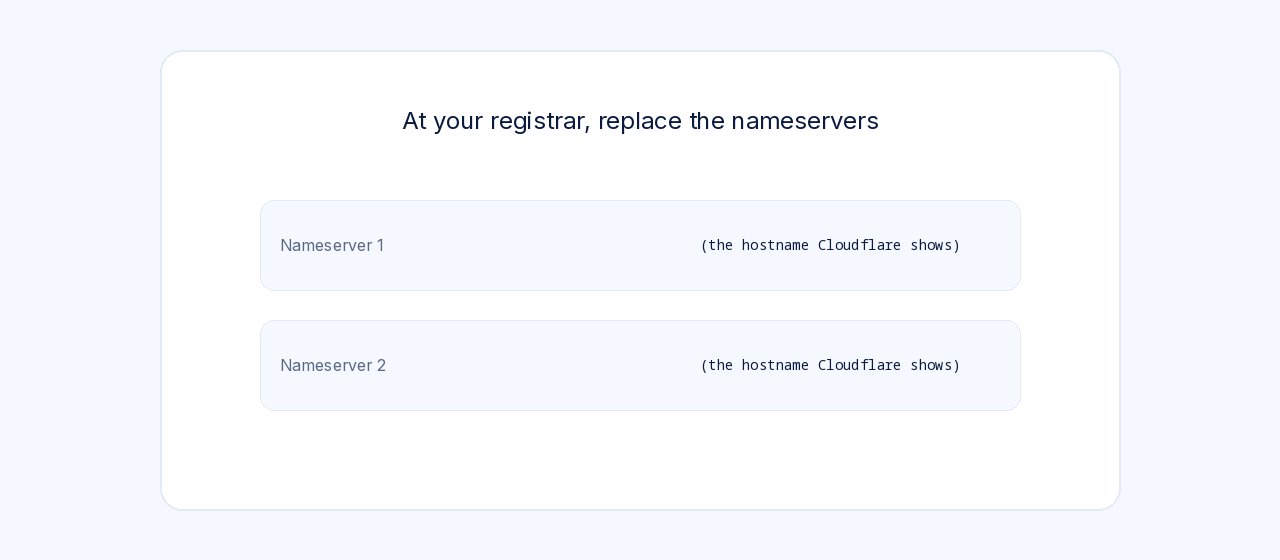
Sign in at the registrar where the domain is registered (the company you bought the domain from). Find the nameserver settings and replace the current nameservers with the two hostnames Cloudflare gave you, then save.
Do not point the nameservers at a different service at the same time. The exact screen name varies: Nameservers, DNS, or Manage DNS. After you save, return to Cloudflare and continue. The zone may stay Pending for a while.
Step 4Know when to use DNS only
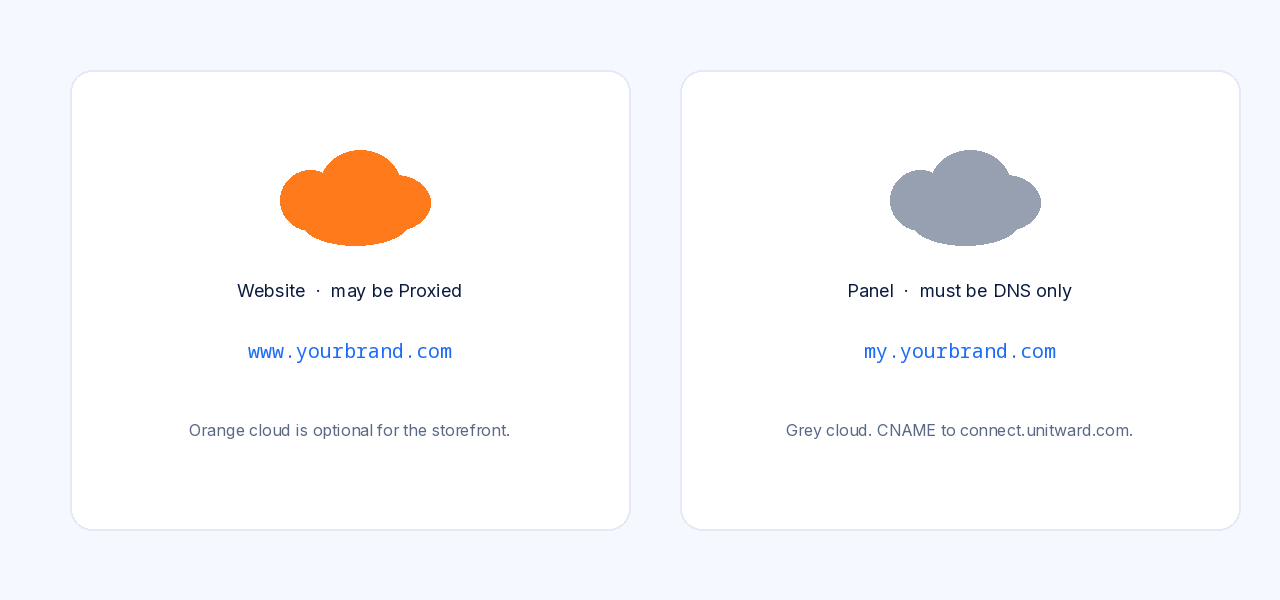
Each DNS record in Cloudflare can be Proxied (orange cloud) or DNS only (grey cloud):
- Website records (your storefront A or CNAME, such as www or the root) can be Proxied if you want Cloudflare in front of the site.
- The panel hostname my.yourbrand.com must be DNS only. It is a CNAME to connect.unitward.com. Never set this record to Proxied.
- MX, TXT, NS records are always DNS only (they cannot be proxied).
Add the panel CNAME as described in Run your hosting business fully under your own brand, with Proxy status set to DNS only.
Step 5Set SSL mode to Full and always use HTTPS
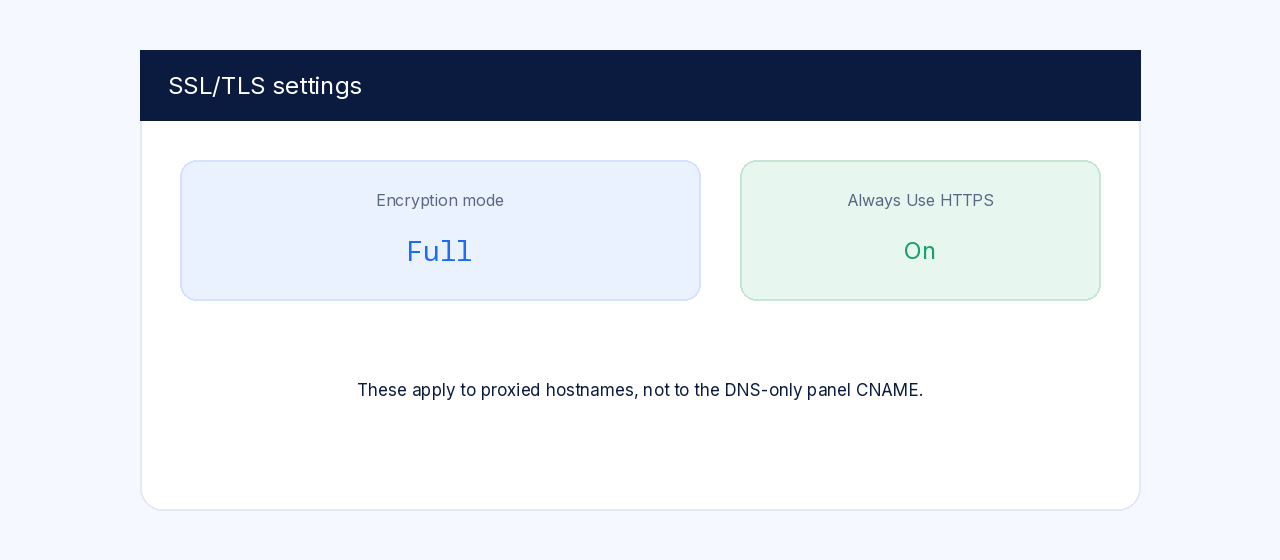
In Cloudflare, open SSL/TLS and set the encryption mode to Full. After a valid certificate is in place on the origin (for example after you upload the Let's Encrypt certificate for your storefront), you can try Full (strict), which is stronger, and keep it if the site still loads.
Then open SSL/TLS > Edge Certificates and turn on Always Use HTTPS. This sends visitors of your proxied website from http:// to https://.
These settings apply to proxied hostnames. They do not replace the certificate you upload for the DNS-only panel hostname. For that certificate, see Get a free SSL certificate for your panel links.
✅ The domain is active on Cloudflare
Cloudflare should show the zone as Active. Next, add the panel CNAME (DNS only) from the own-brand guide, then optionally set up branded email and a free SSL certificate. If the zone stays pending, write to [email protected].
Our team can add the site, switch nameservers and check DNS as a paid service — contact [email protected].