
Create a branded support email with Cloudflare Email Routing
This guide shows you how to create a support address on your own domain, such as [email protected], and forward it to the inbox you already check. Customers then write to your brand, not to a personal mailbox. The steps use Cloudflare Email Routing, which is free with a domain on Cloudflare.
Before you start
- Your domain on Cloudflare. If it is not there yet, first follow Connect your domain to Cloudflare.
- An inbox you already check, so you can receive the forwarded mail and the destination verification message.
- Access to your reseller panel, so you can set this address as the contact email shown to customers.
Our team can create the address, verify forwarding and set it in the panel as a paid service — contact [email protected].
Step 1Use an address on your own domain
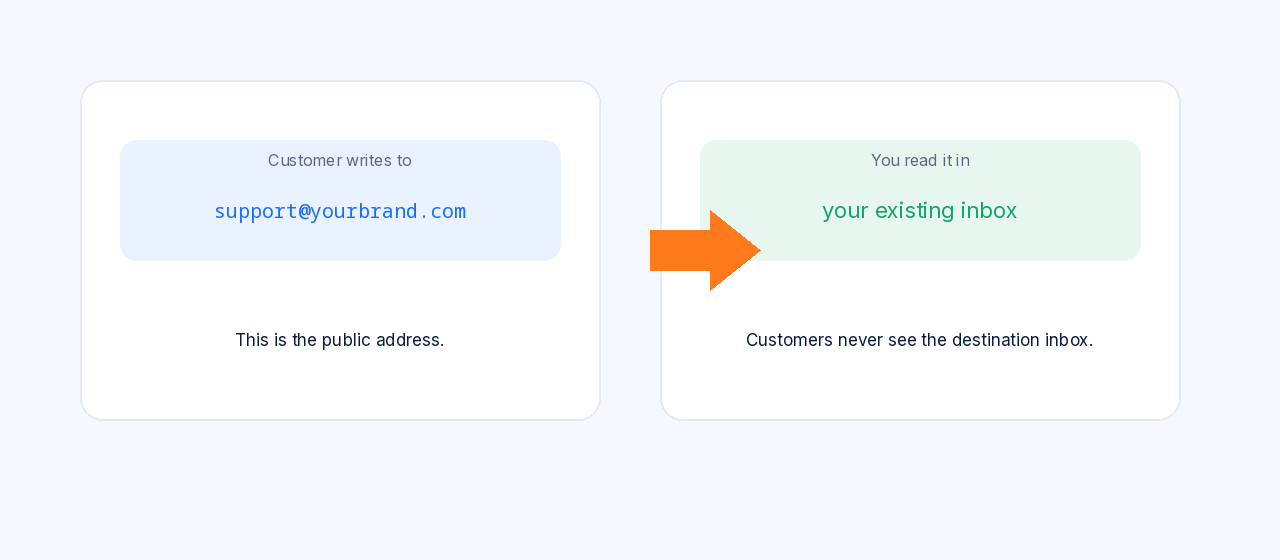
Your customers should only see an address such as [email protected]. A personal mailbox on another domain looks unprofessional and publishes a private contact.
Email Routing does not host a full mailbox on Cloudflare. It receives mail for your domain and forwards it to a destination inbox you already use. You keep reading mail where you already read it, while customers only see your brand.
Step 2Open Email Routing for the domain
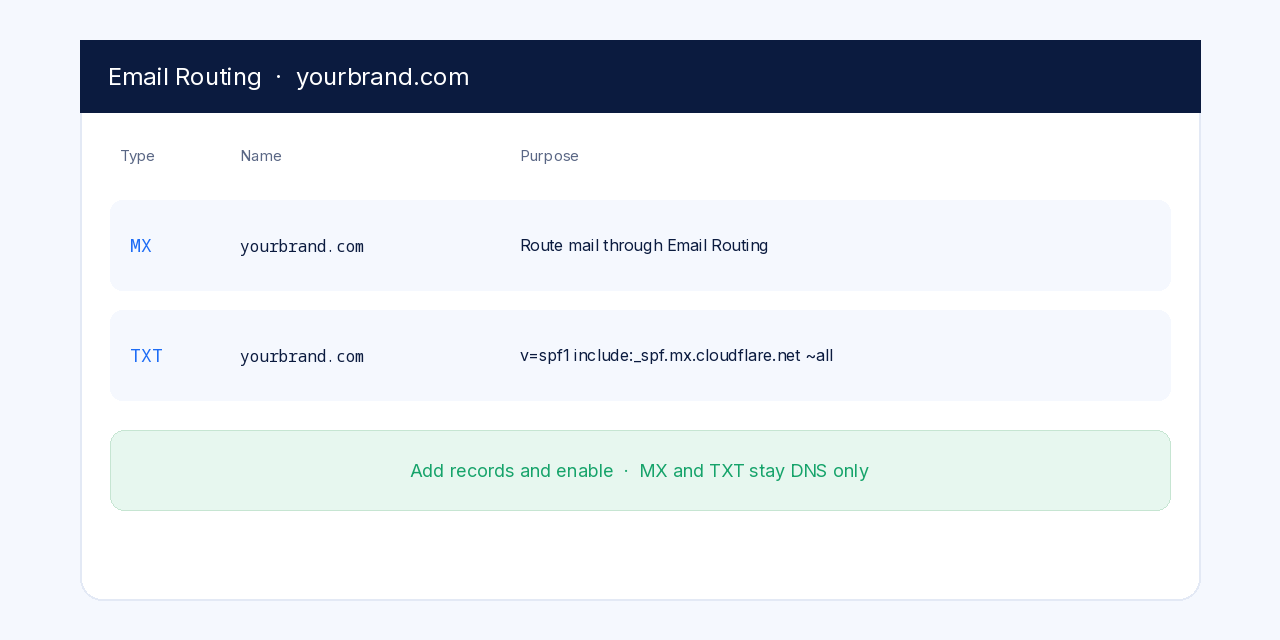
Sign in to Cloudflare and select the domain yourbrand.com. In the left menu, open Compute, then Email Service (it may appear as Email), then Email Routing.
If routing is not on yet, enable it. Cloudflare will show the DNS records it needs and let you choose Add records and enable. That step adds the MX records and an SPF TXT record for the zone automatically. If the page offers to fix conflicting records (for example more than one SPF TXT), review and fix them before you continue.
Step 3Add and verify your destination inbox
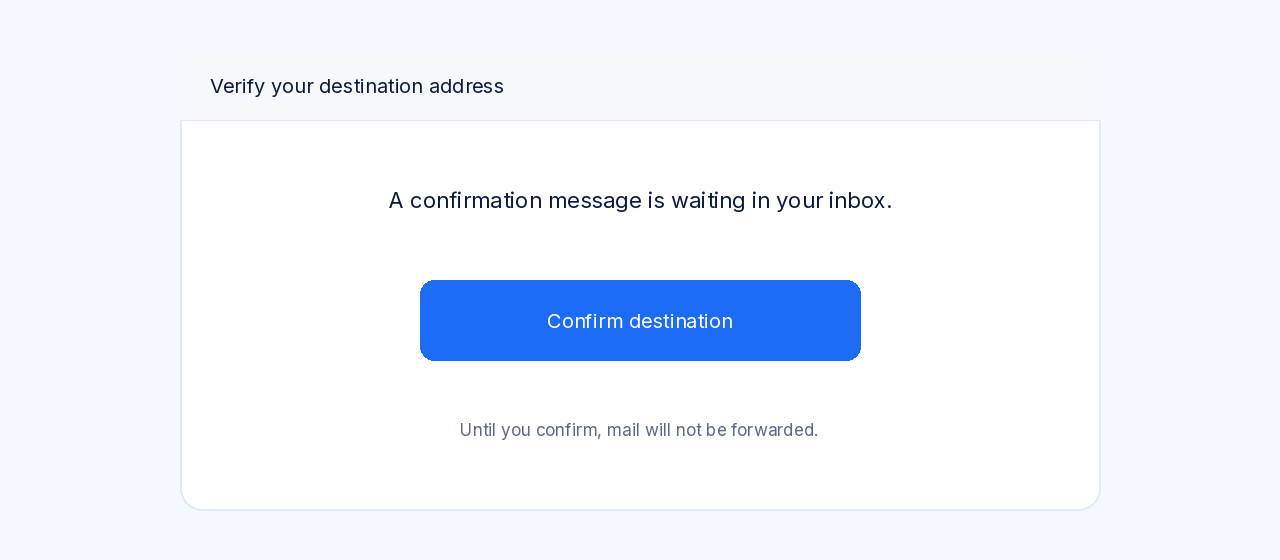
Add a destination address: the inbox you already check. Cloudflare sends a verification message to that inbox. Open the message and confirm the destination. Until you verify it, routing rules will not deliver mail.
Use an inbox you control. Do not type a guessed address, and do not publish this destination on your website — it is only the private place the mail is forwarded to.
Step 4Create the support address
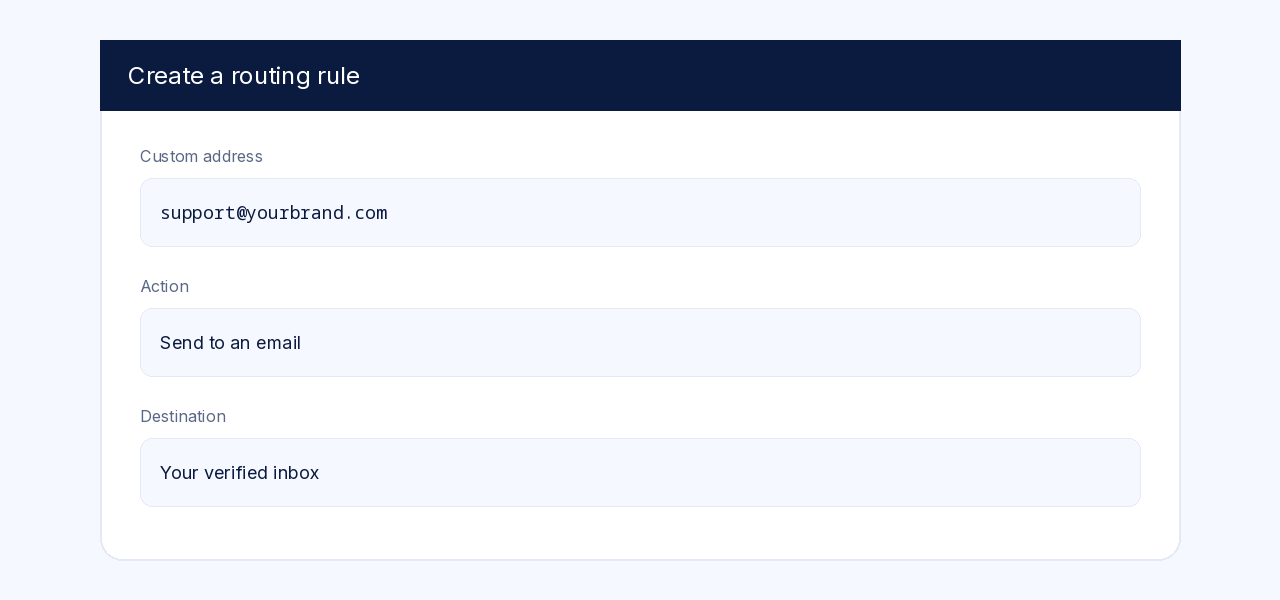
Create a routing rule (sometimes labelled a custom address):
- Custom address: support (this becomes [email protected])
- Action: Send to an email, or the equivalent “forward to destination”
- Destination: the inbox you just verified
Save the rule and confirm Email Routing still shows as enabled. You can add more addresses later the same way, for example [email protected] or [email protected].
Step 5Set it in your panel and send a test
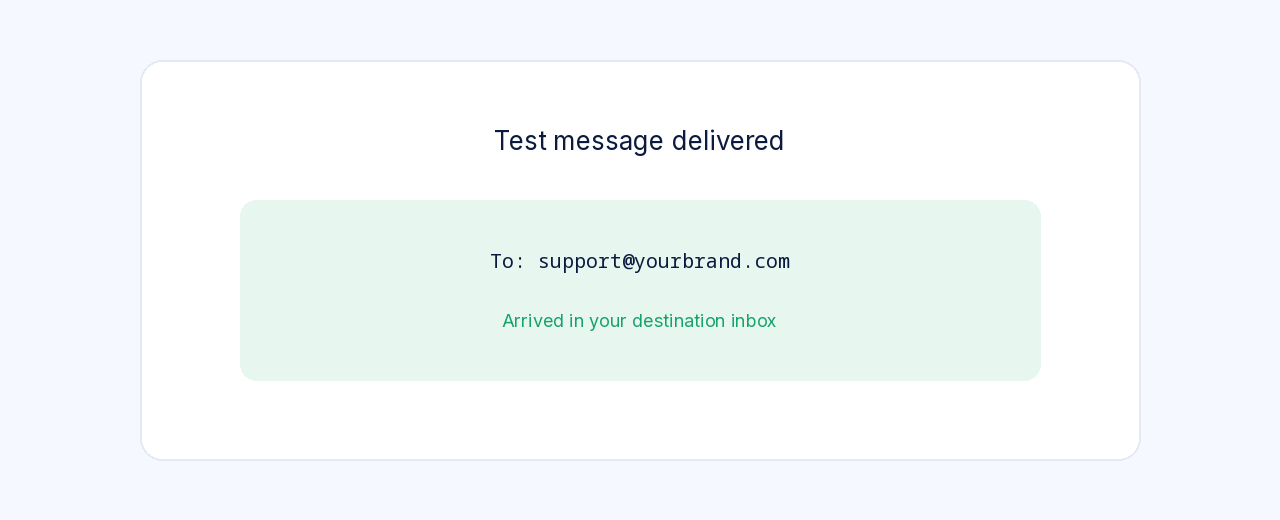
Send a test message to [email protected] from a different mailbox, and confirm it arrives in your destination inbox. Then, in your reseller panel, set this address as the contact email shown to customers (support, billing and abuse contacts if those fields appear). Use the same address in your store footer and on the contact page.
Do not leave a personal mailbox visible on the site after this step.
✅ Customers can write to your brand address
A test message to [email protected] should arrive in your inbox. Then set that address as the contact email in your reseller panel, and hide any personal mailbox. See also Protect your privacy on your branded site. If something fails, write to [email protected].
Questions and problems
- Will my customers see the destination inbox?
- No. They write to [email protected]. The destination is only where you read the mail. When you reply, consider sending from the brand address if your mail app allows it, or include the brand address in your signature.
- Can I use this if DNS is not on Cloudflare?
- Email Routing requires the domain to use Cloudflare DNS. First follow the guide to connect the domain, or set up forwarding at the DNS or email provider you already use, still with an address on your domain.
Our team can create the address, verify forwarding and set it in the panel as a paid service — contact [email protected].